


Sleeklens On The Web:
Sleeklens Lightroom Presets
Sleeklens On Pinterest
I was recently contacted by Sleeklens to enquire if I could test and give my honest opinion about one of their photography workflow preset products for Lightroom. I really enjoy testing creative products, so I gladly accepted the challenge!
Sleeklens is based in Copenhagen, Denmark, it was founded in 2015 by Daniel Chabert. Daniel started the company after he was dissatisfied with the quality of Lightroom or Photoshop products on the market. At the time, preset products would only propose a “quick-fix” or an “all-in-one” solution.
As you are about to find out, Sleeklens propose a complete workflow with their products and not just “quick fix” presets. In my opinion, I would say their products would be well suited for beginners using Lightroom who are looking to achieve professional results quickly and also professional photographers who are looking to to save time in their creative workflow.
Through The Woods presets pack for Lightroom - Get them here
At the time of writing, Through The Woods landscape bundle is currently priced at $39. After I downloaded the zipped preset pack, there were two folders containing Lightroom presets:
Through The Woods brushes
Through The Woods presets
Four PDF text files were also included, two of these were instructions of how to install the presets, both of which were very straight forward and I had no trouble at all following the instructions. There was also a Terms of Service and Use PDF, explaining how I can use the presets. It’s good to know that the presets can be used professionally and personally ! Finally, the Through the Woods recipe list contained before and after examples of the results to expect after using the presets.
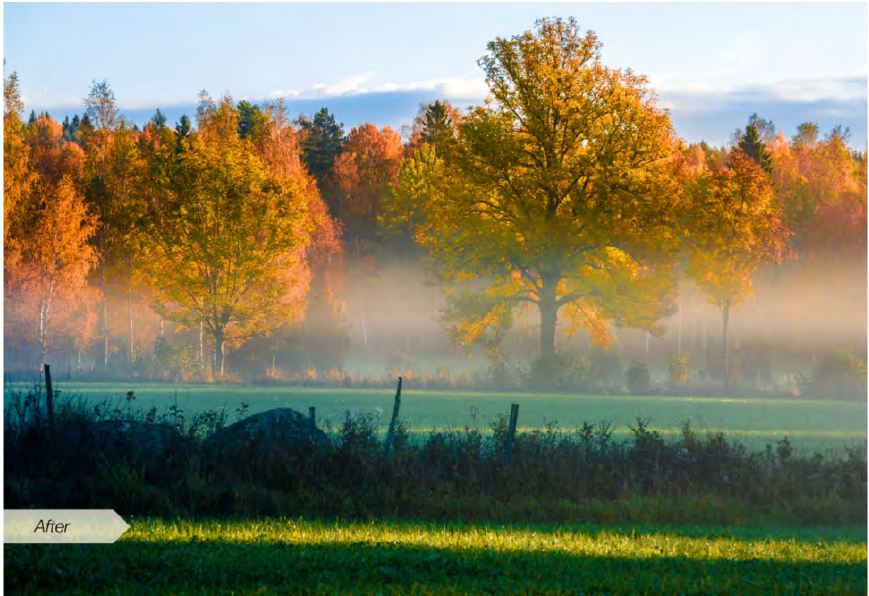
Here are a few before and after examples below which can be found in the bundle:


Installing the presets
Installing the 30 brush presets is pretty straight forward, they need to be copied in the “Local Adjustment Presets” folder in the Lightroom location. The following 30 main presets are installed directly in the Lightroom application under the presets tab. Right click, create a new folder, right click on the folder and import the presets.

Once the main presets have been installed, they automatically show up in the presets list:

The brush presets are installed by copying them to the Local Adjustment Presets folder in Lightroom. *Make sure that Adobe Lightroom is closed for this step.* Open the folder named “Local Adjustment Presets” in the following location: C:\Users\<Username>\AppData\Roaming\Adobe\Lightroom
When Lighroom is restarted, they will show up in the brush presets menu, click on the brush retouch tool to activate the menu:

Testing the presets
The main presets come in six groups:
0-All In One
1-Base
2-Exposure
3-Color Correct
4-Tone/tint
5-Polish
6-Vignette
The beauty about these presets is that they can be stacked on top of each other. It's possible to choose a preset from each of the six groups one after the other and they won't cancel each other out! This is a fantastic feature, as it allows to rapidly speed up the post production process. Instead of spending hours tweaking knobs and sliders within Lightroom, it's possible to apply a preset from each of these groups very quickly.
To test the presets, i chose quite a difficult photo to retouch, an underexposed, back-lit photo previously taken in Venice:

The descriptions of the presets are well thought out, it's very easy to find the right preset for the right job. In the case of this photo, i wanted to raise the shadows, enhance color, add clarity and sharpening. I added six presets in total, layered one after the other. In a matter of seconds i was able to achieve the desired effect! In the end, i only had to correct the exposure slightly for this photo.
Here is the list of presets i used to achieve the final result:
0-All In One-Heavenly Warmth
1-Base-Auto Tone (Color)
2-Exposure-Brighten Shadows
4-Tone/Tint-Color Pop
5-Polish-Add Clarity
5-Polish-Sharpen
Here is the final result:

To retouch this photo without using these presets would take a lot more time. Some extra adjustments still need to be made for your own personal taste, though the main goal of these presets are to help you speed up the overall workflow process and save time.
The brush presets can also be applied to fine details in the photo such as warming up the sun and adding clarity to areas of water. I felt i didn't need to add further adjustments to the photo, but it's still a great option to have!
Conclusion
Sleeklens is providing effective photography presets which can greatly reduce post production time. I really love the preset stacking capability, the ability to keep adding presets to the photo and build up to the final result is very useful. The workflow presets would be well suited to professionals looking to save time in post. Lightroom newbies who need to easily and quickly achieve professional results, will also profit greatly from these presets!